

I recently setup a QNAP Backup for my NAS and realized that the documentation available from Infomaniak for QNAP is a bit outdated. So I thought to write an article about it. Infomaniak offers a product called “Swiss Backup” (affiliate link, I earn a little commission when using this link) where they guarantee that all data stays safe in Switzerland. They have a 90 Day free trial and afterward pretty competitive pricing for Swiss standards.
Sign up for the product
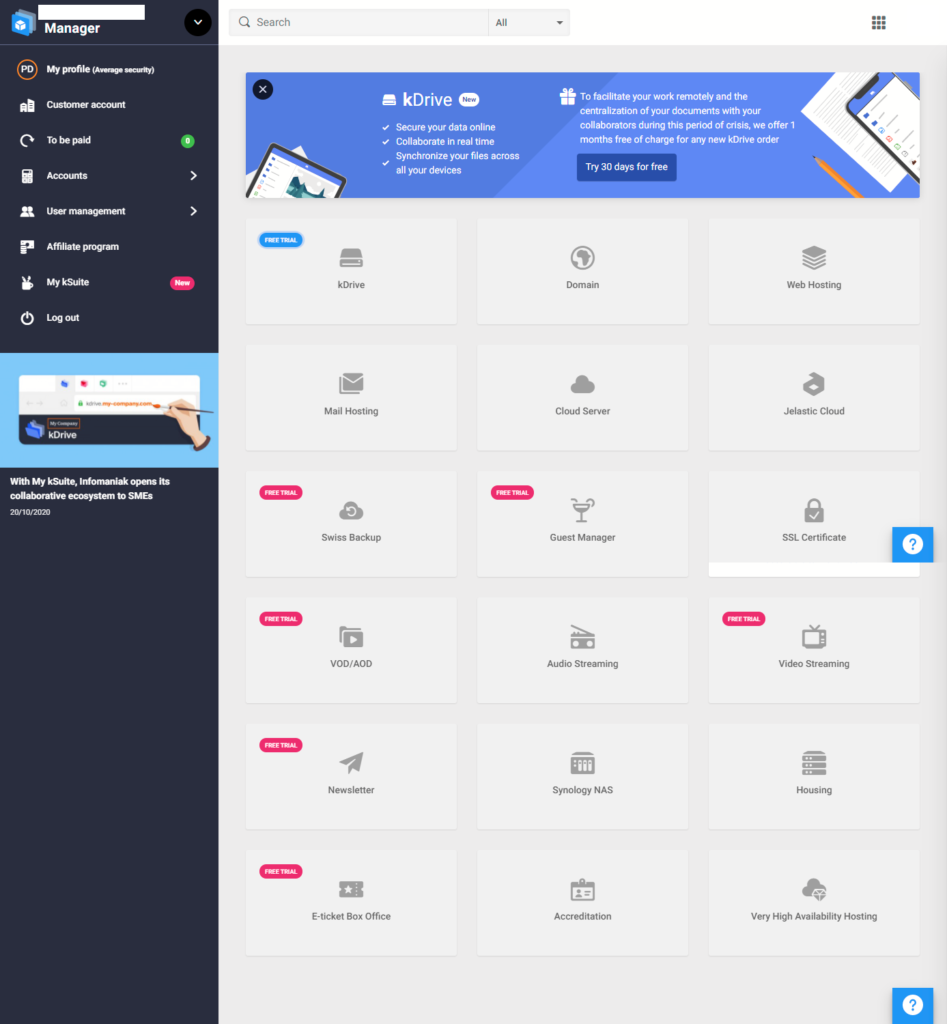
The sign-up is relatively easy. You create a new user account with them, then when you’re in the Manager UI you can select the “Swiss Backup” product:
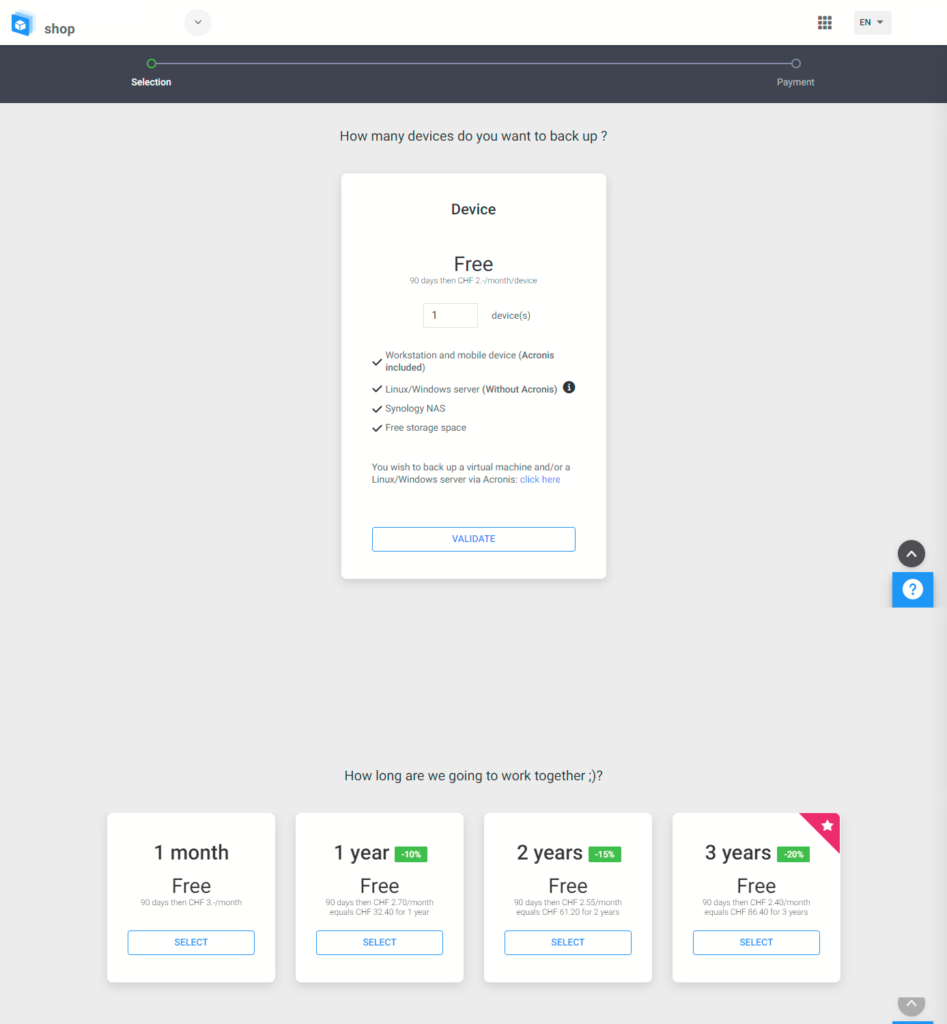
Then you get led thru the sign-up flow for “Swiss Backup”. First you select the payment type and the plan. Here you want to choose an amount bigger than the amount of data you want to backup. E.g. you have 1.5TB of data you want to choose the 2TB plan.

Then choose how many devices you want to backup. In my case it’s 1 NAS.
Then you eventually complete the sign-up process and will get access to the Swiss Backup overview:
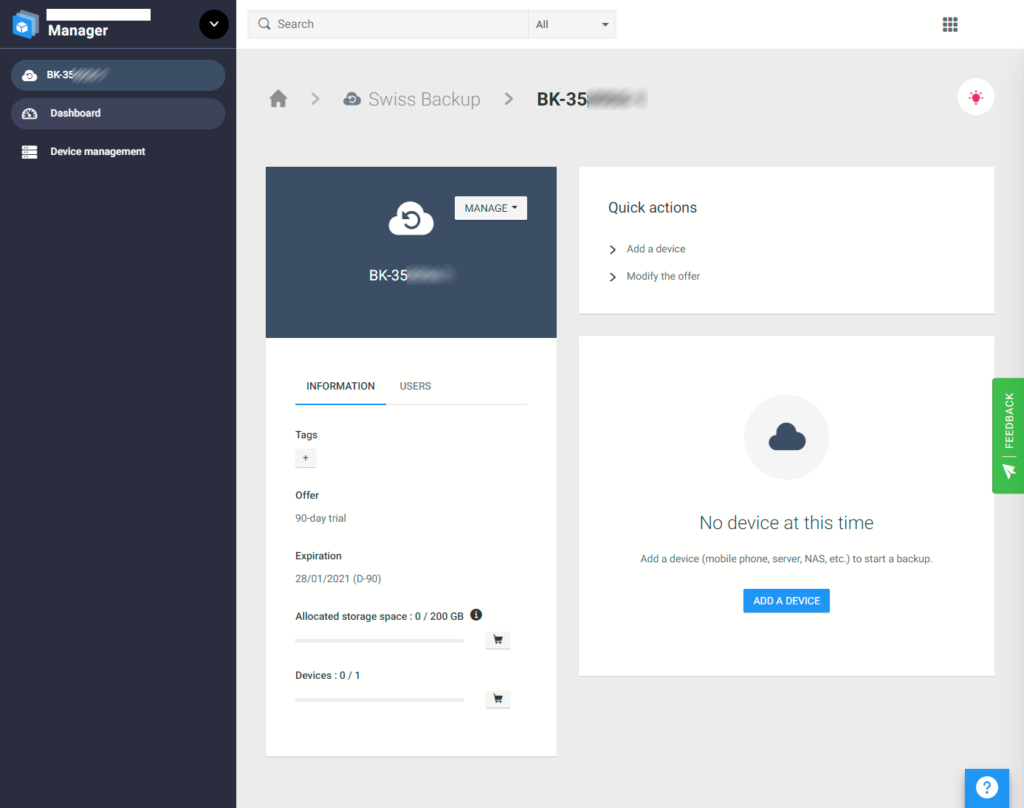
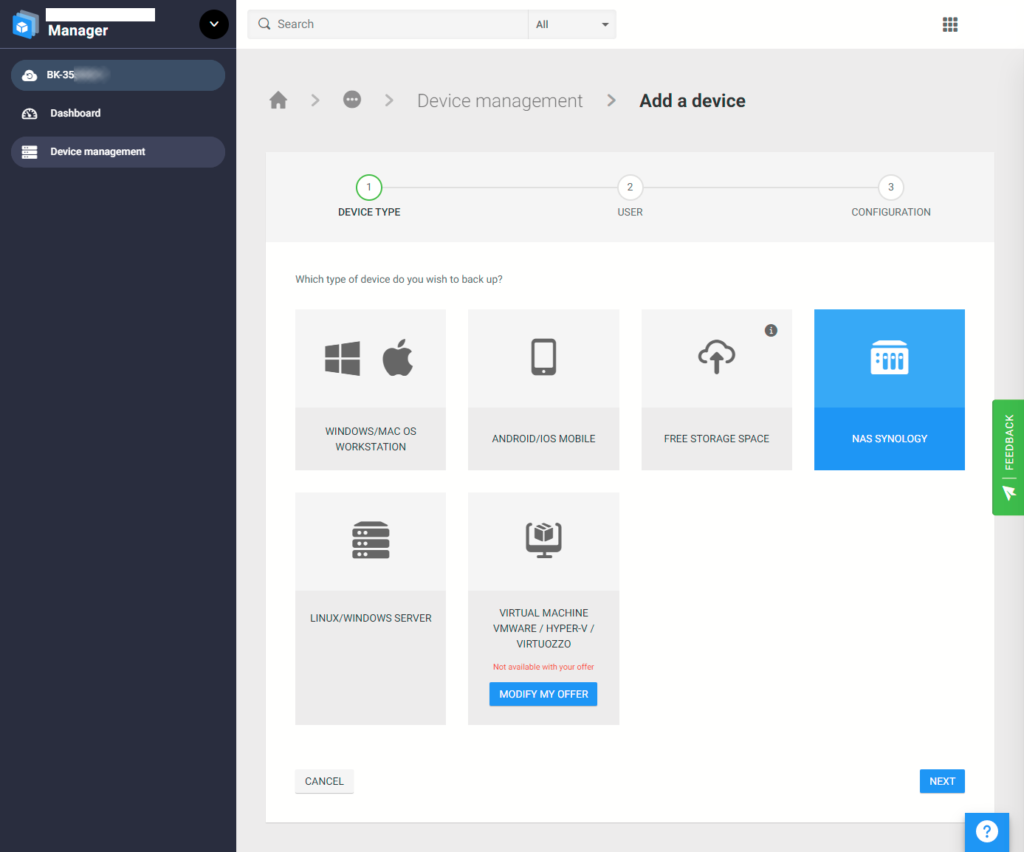
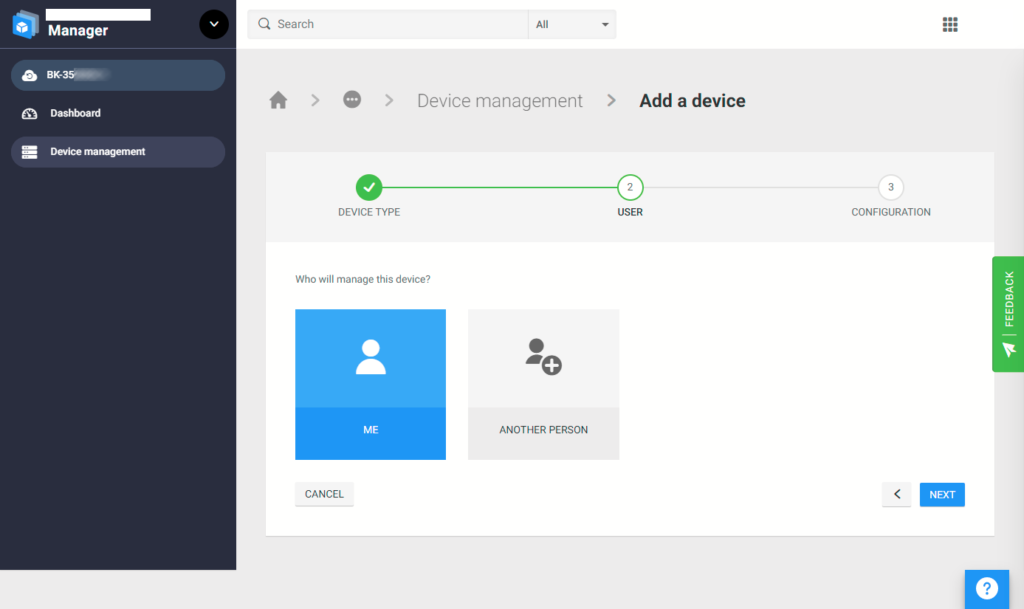
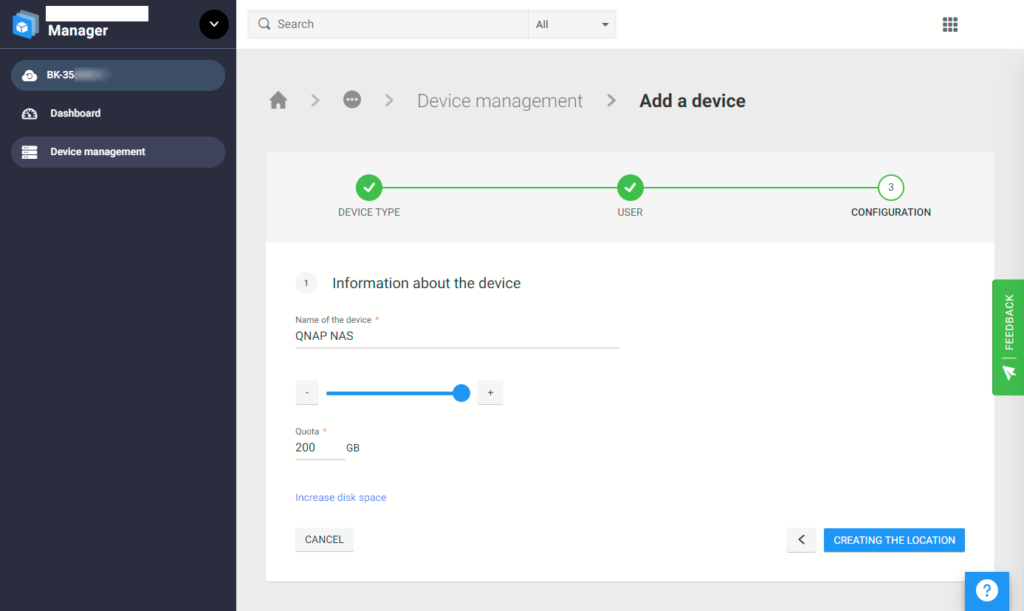
From here you want to click on “Add a Device” and go thru the steps of setting up a new device. We choose “NAS Synology” as device type, click next, User is “Me”, allocate all space to it, give it some name “QNAP NAS” and that’s it.
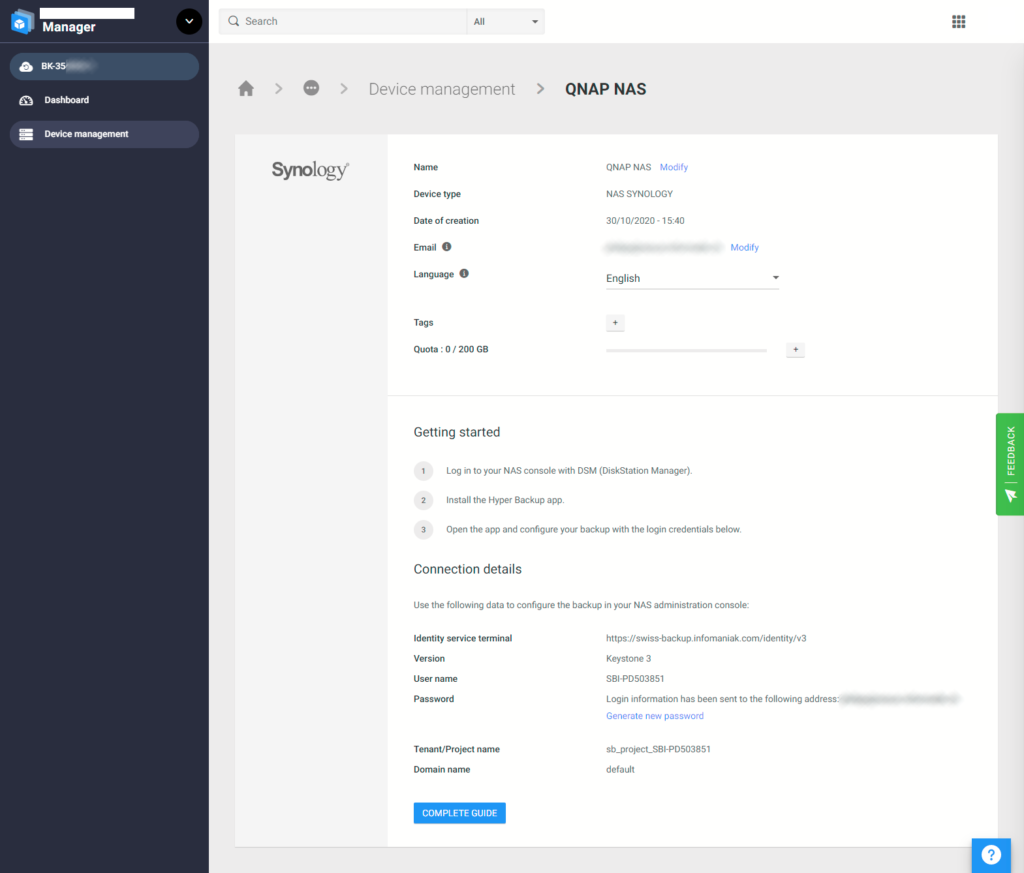
We get sent back to the product overview where we now have a device entry, clicking there we get all the needed information. We need to click “Generate new password” to get the password.
Setup QNAP NAS for backup to Swiss Backup
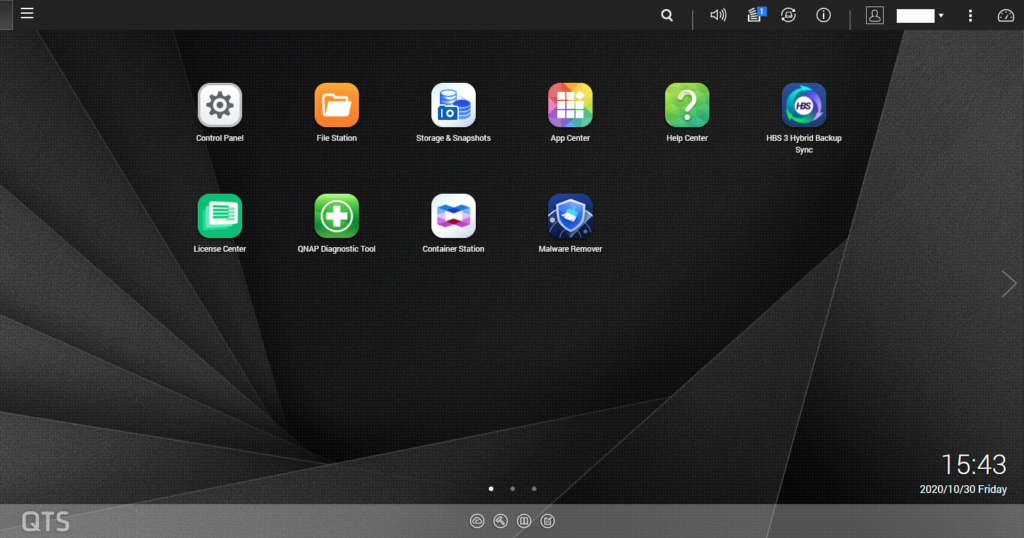
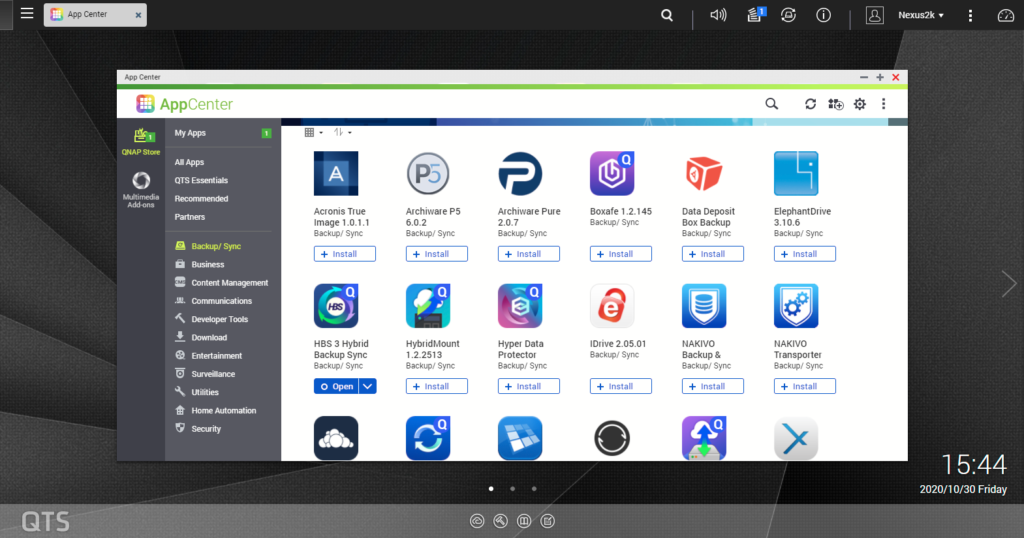
Now that we have the account ready and all the details we need. We’ll setup the NAS. Login to your NAS’ admin UI. From there we want to make sure that the “HBS 3 Hybric Backup Sync” app is installed. If it’s not installed you can get it from the App-Center.
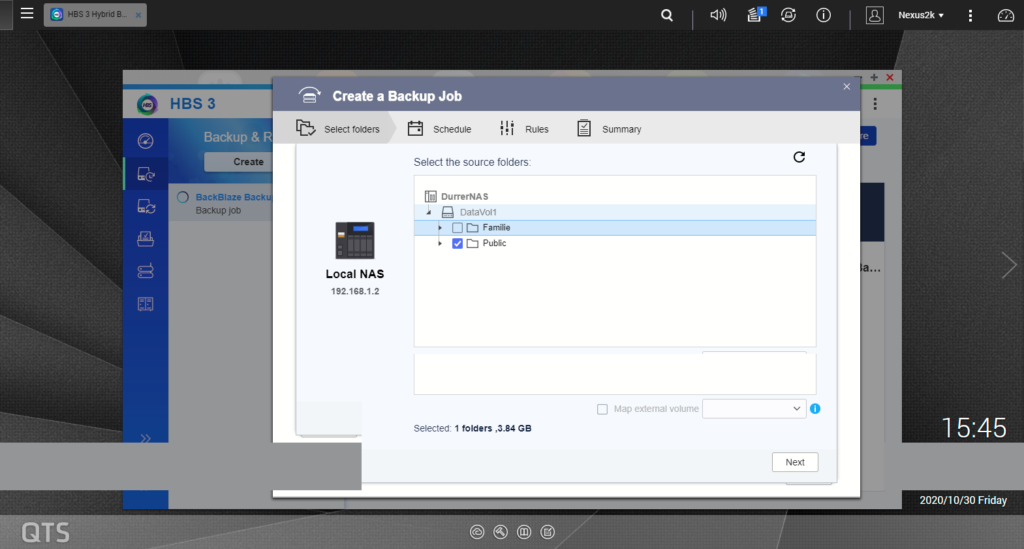
Next we open “HBS 3 Hybrid Backup Sync” and go to “Backup & Restore” and then click on “Create new Backup job”. In dialog that gets shown you select the NAS folders which you want to backup (Here the folder “Public”). Then click Next.
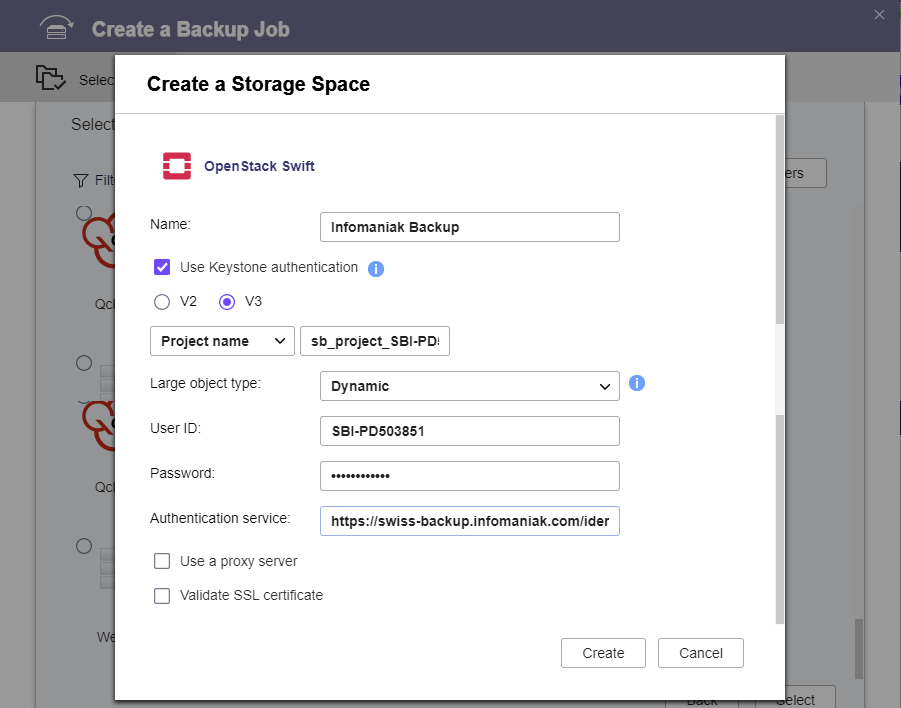
On the next Menu you scroll down to “OpenStack Swift” and from there another dialog will be shown which you fill as follows:
- Name: Infomaniak Backup
- Check “Use Keystone Infrastructure”
- Select “V3”
- Put the Project name from the product overview page, the format should be: sb_project_SBI-XX000000 (make sure you select “Project name”).
- User ID: SBI-XX000000
- Password: the one you generated in the step before
- Authentication service: https://swiss-backup.infomaniak.com/identity/v3
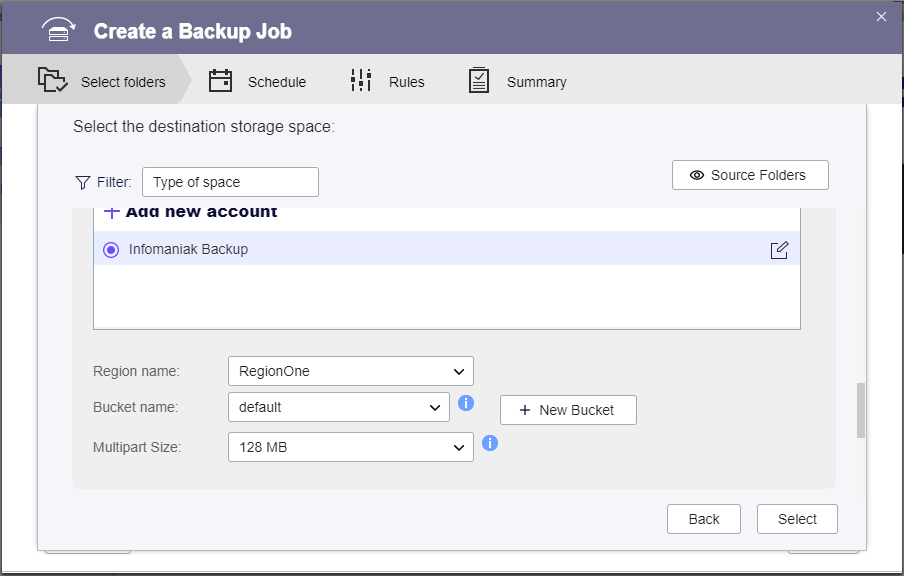
After clicking “Create” it should then show you the newly created account. Select “RegionOne” as the region and “default” as the Bucket name. Multipart Size can stay at 128MB. Then click “Select”
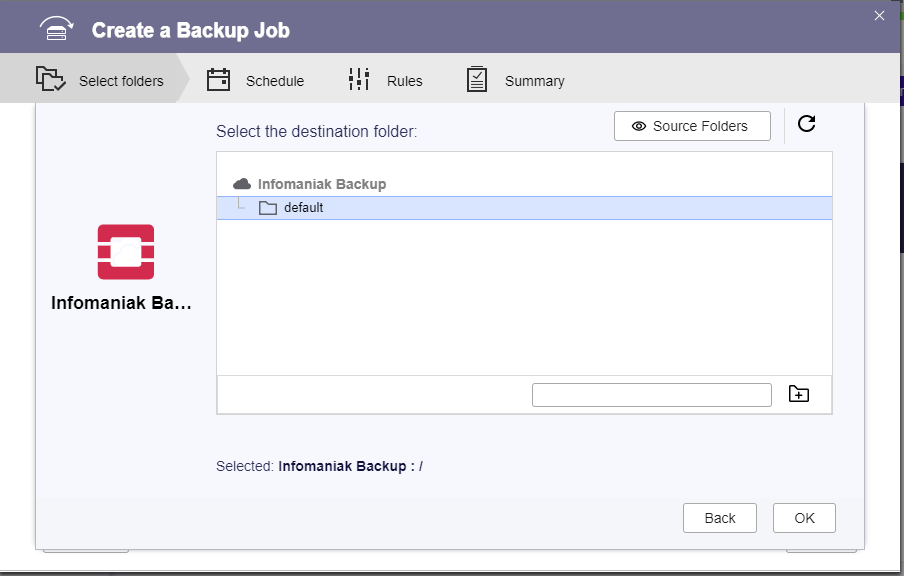
The process then shows you the default bucket, click on it and confirm by clicking “Ok”.
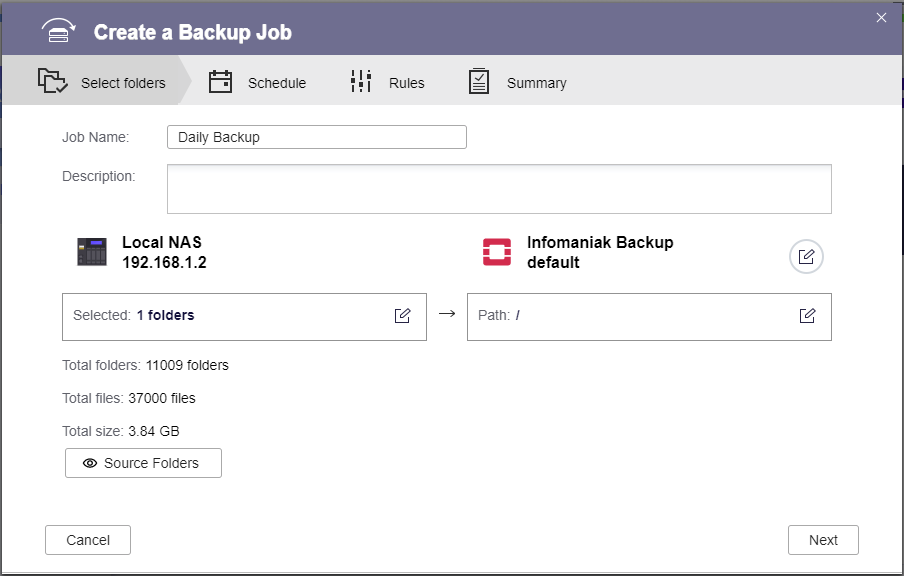
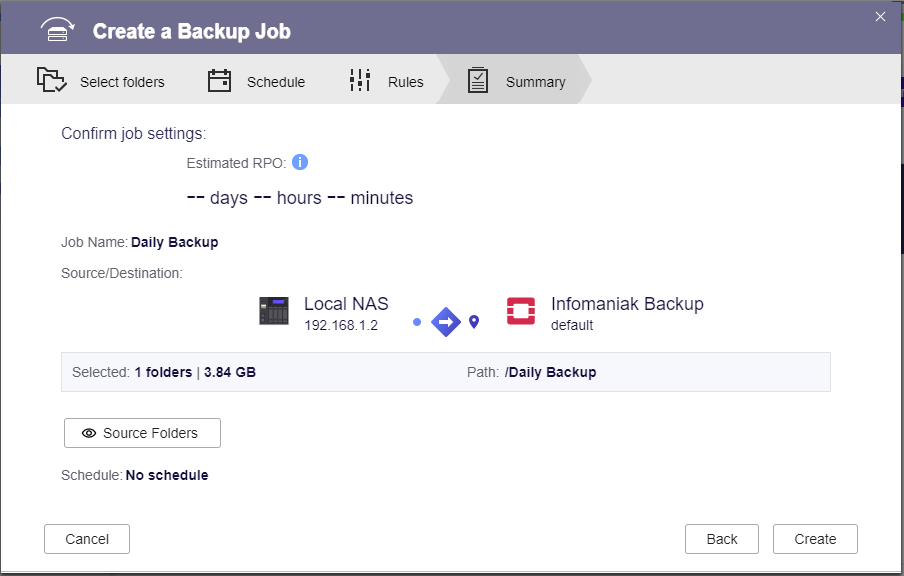
You’ll then get a summary of the source and destination location. Give the Backup job here some useful name like “Daily Backup”.
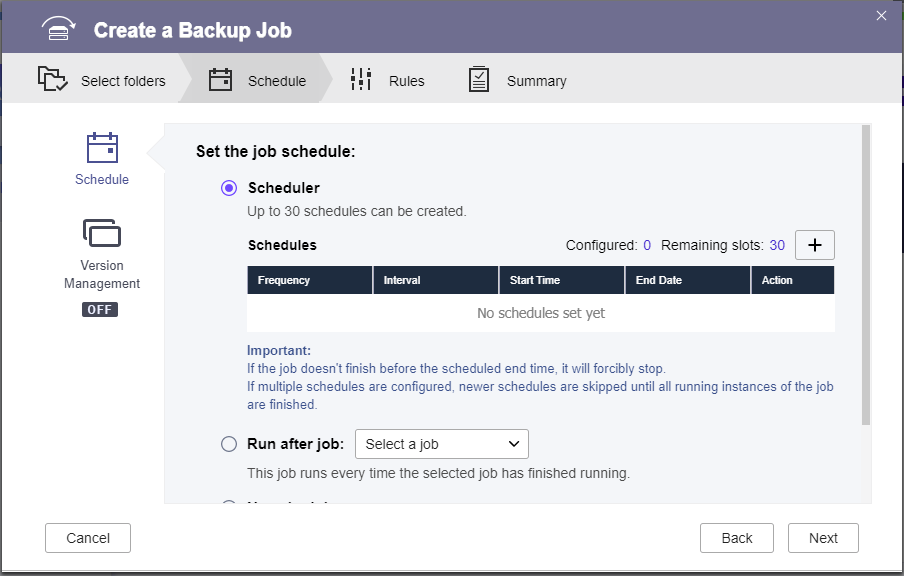
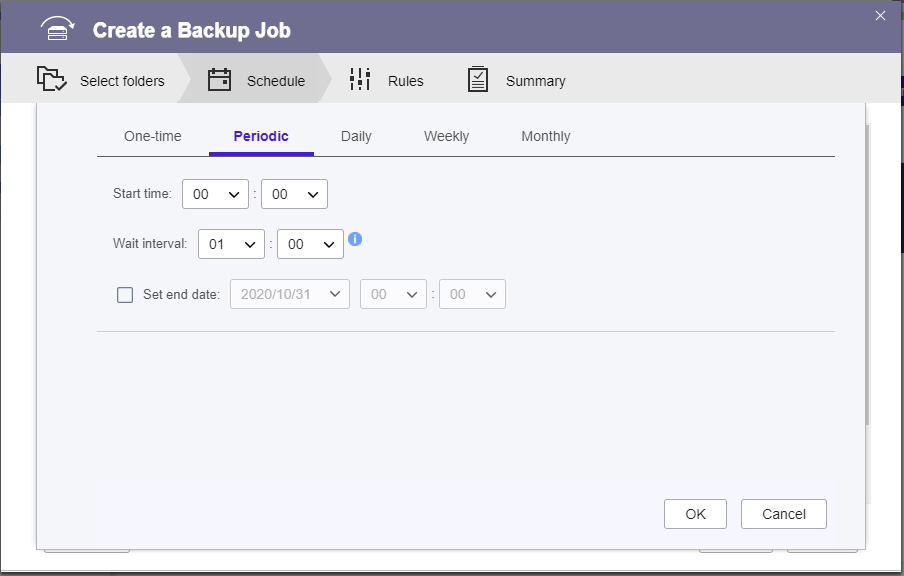
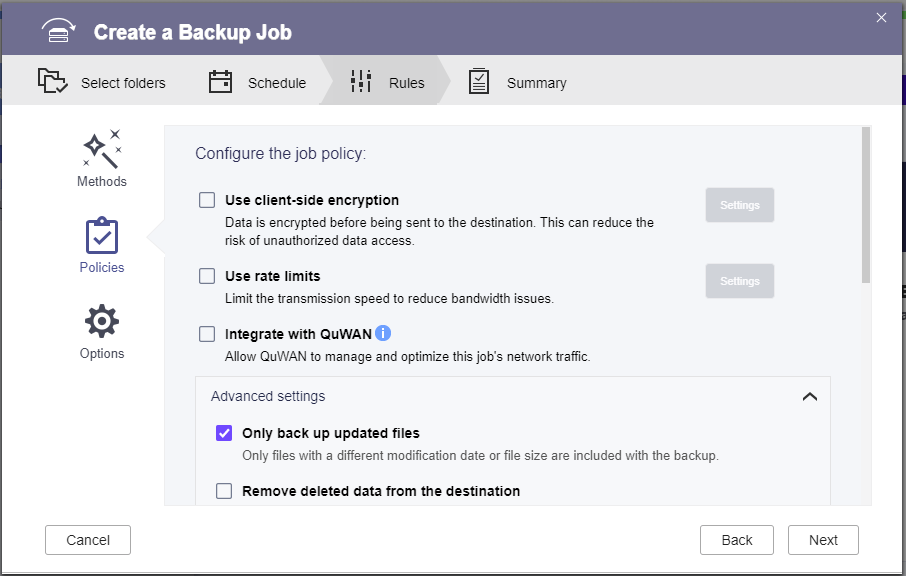
The next few steps are somewhat self-explanatory, you can setup a schedule for the backup or make it a onetime thing. I usually use hourly backups.
Something you might want to consider is setting a rate limit. This makes sure that the QNAP NAS doesn’t use the fully available upload bandwidth of your internet connection. I usually limit it to 8 out of the possible 12 MB/s (with an internet connection with 100 MBit/s upload).
You can then let it run and check in the Report what’s going on.
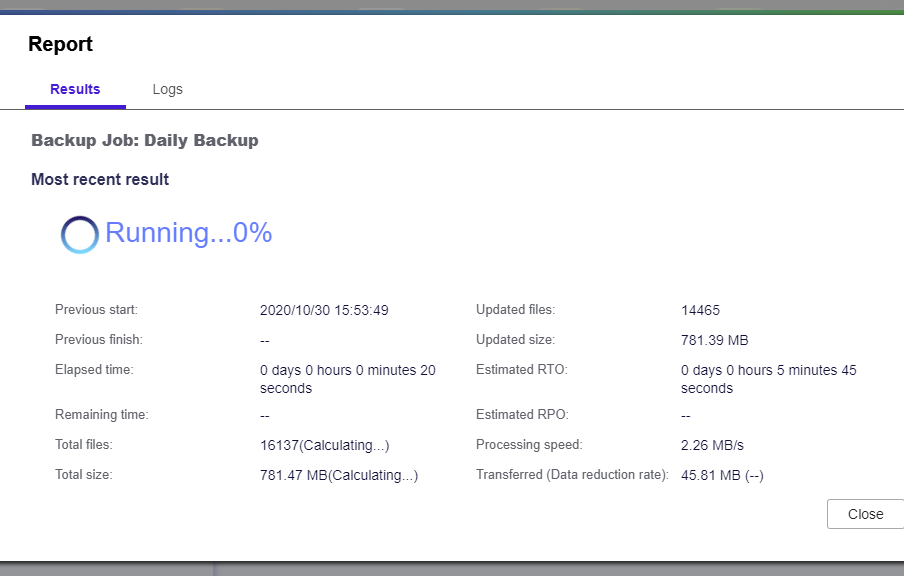
That’s it.
I hope this post helped somebody to setup their NAS backup. Leave your comments below if you have questions or are stuck at some point.
Great, thank you… Send it to infomaniak 😀